
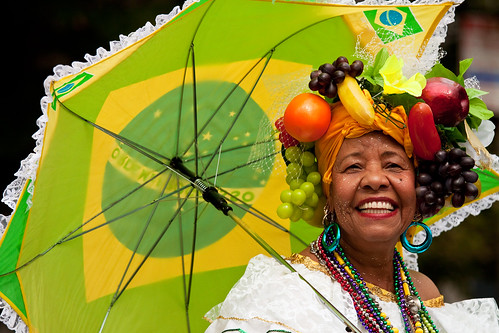
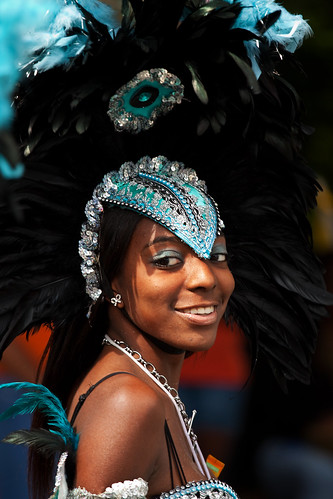
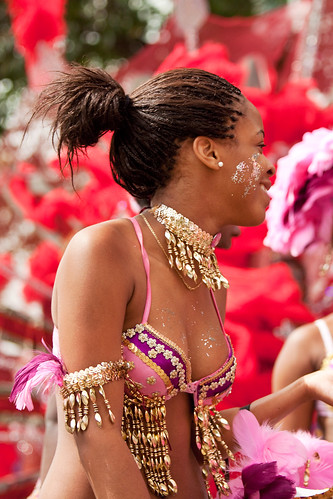
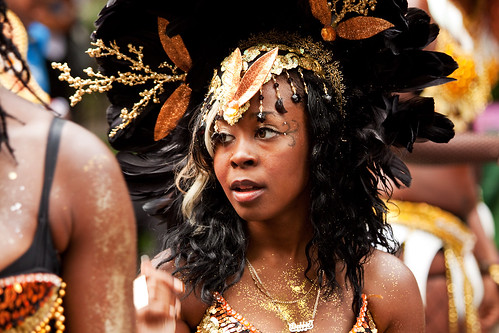
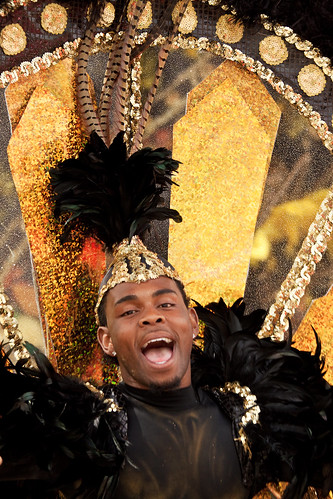
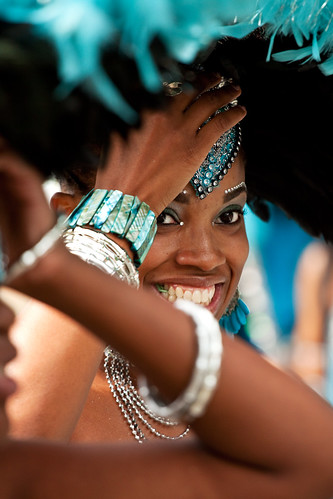
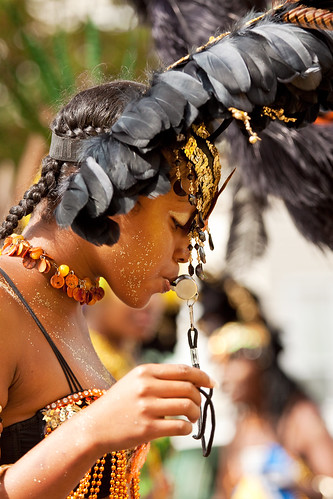
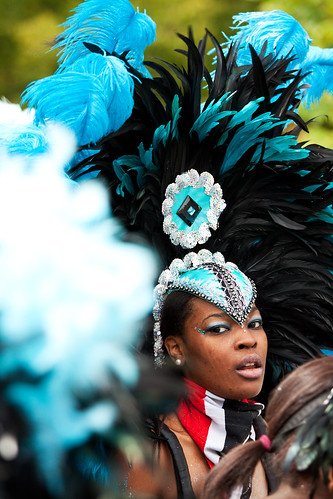
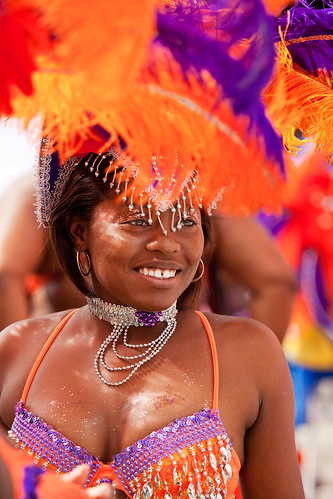
Cambridge Carnival 2010 in Cambridge, MA: the music, dancing, and vibrant colors of the Caribbean, conveniently found down the street from me today.
All of these images were shot using a Canon 50D (60D is current version) with the 70-200mm f/4L IS lens.


There is a very recent and timely post on PhotoFocus about photographing parades. It has some useful advice. I would add to that a few more:
-Arrive early and work your way into the assembly area, where there is often a sense of tension and pent-up excitement. Capture photos of participants getting ready and chatting, musicians practicing, and posed portraits of individuals or groups who are eager to have their photo taken in their outfits or costumes.
-During the parade, always be aware of your image backgrounds. Position yourself so that you have light or dark backgrounds as appropriate, or crowds of faces. Be sure you have clean, or at least not distracting backgrounds. Use wide open apertures to make the backgrounds blurry and less distracting. Some distracting backgrounds I had to avoid at this event included a bright yellow rental truck with the name across it and porta-potties. Keep your eyes open for these types of things. Changing your position and point of view can make the street, some trees, or the sky become your background.
-Be very aware of the light and where it is coming from. Position yourself on the best side of the street so that you can capture the light on the participants’ faces. Or backlight them if you want photos with sun-flare. Position yourself near intersecting side streets where the sunlight is unobstructed by buildings and trees to avoid shadows across the parade route. Look for mirrored, glass, or light colored buildings to act as natural reflectors which throw back and diffuse the light nicely onto all the participants. Of find areas with light and dark shadow areas and try to highlight a participant as they step into the light.
-Bring ear plugs so you can concentrate of taking images even when the giant sound truck is stationed right in front of you.
-Experiment with slow shutter speeds to create blurs of motion and color. Put your camera on shutter priority mode (Canon=Tv or Nikon=S). Try starting with a shutter speed of 1/30 and adjust from there as necessary.
-If you are using a flash outdoors, do not use your flash diffuser (like a Sto-Fen Omni-Bounce) except for very close portraits. All you are doing is reducing the light coming from your flash and causing your flash to work harder and take longer to recycle. It does not change the “softness” or the “warmness” of the light from your flash. A flash diffuser works by bouncing light and diffusing shadows because the light is then coming from various directions. It does not magically “soften” light. You can not bounce light off the sky. It just doesn’t work. Use your flash straight on, dial it down minus 1 or 2 so that it doesn’t blow out highlights, and use an orange or straw gel if you want more warmth. It is much more efficient to reduce the light from your flash by dialing it to -1 and having it use less of its power than it is to put something in front of it and cause it to use more of its power, all for the same look. If you wish to spread its light, use the built-in, flip-down wide angle screen. I don’t care if you see the “pros” or the guys with the big cameras using one – they haven’t bothered to read the instructions. They aren’t able to bounce light off clouds just because they have big cameras.