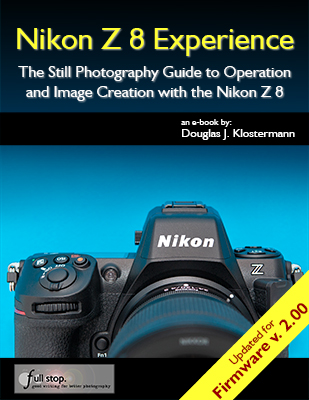
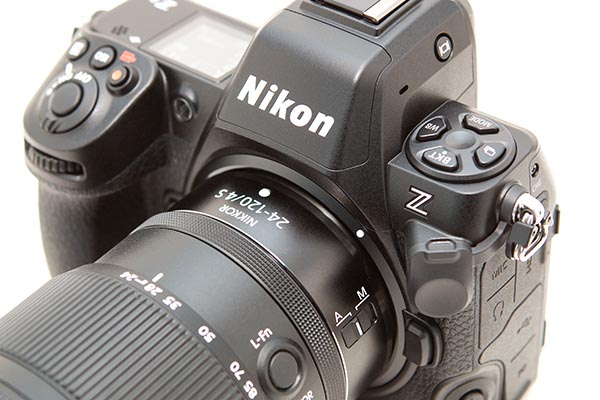
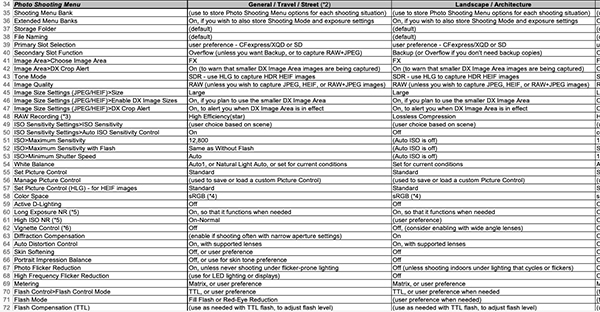
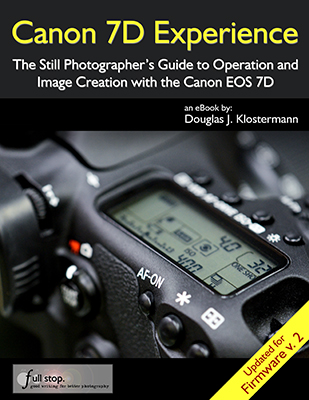
My latest Full Stop e-book, Nikon Z 8 Experience user guide to the Nikon Z8 mirrorless camera has been fully updated for the changes and additions of camera Firmware 2.00! This e-book goes beyond the manual to help you learn the features, settings, and controls of the powerful and highly customizable Nikon Z 8. Plus most importantly it explains how, when, and why to use the functions, settings, menu options, and controls in your photography.
You can learn more about this Nikon Z8 guide, view a preview, and purchase it here:
www.fullstopbooks.com/nikon-z-8-experience/
Here is a summary of the Firmware 2.00 updates, which have all been incorporated into the Nikon Z 8 Experience book:

In February of 2024, Nikon released a Firmware 2.00 update for the Z 8. This firmware includes significant additions and changes to the camera, and borrows features from the flagship Z 9 and the Z f models. These include bird subject detection, Auto Capture to set up the camera to automatically capture images based on specific parameters, and new Picture Controls for stills and video. The update also adds Pixel Shift Shooting to create up to a 180 MP image from several exposures, new shutter sound options, and more options for customizing the camera controls. The performance of 3D-Tracking AF-Area Mode has been improved for certain situations including small, fast-moving subjects. Additional video options include new Slow-Motion Video, Low ISO settings for N-Log video, and changes to Hi-Res Zoom speeds.
Nikon has created a Supplementary Firmware Update Manual that includes all these Firmware 2.00 changes. This document and the file with the latest firmware can be downloaded here:
https://downloadcenter.nikonimglib.com/en/products/616/Z_8.html
The firmware changes have been incorporated into the text of this book in the appropriate sections.

Left: The new Birds option in the AF Subject Detection Options. Right: The camera detected a bird, and placed the autofocusing frame at its eye.
Still Photography: Subject Detection now includes the Birds option. The camera has added new Bracketing increments such as 1.3 and 1.7, three new Picture Controls including Flat Monochrome, Deep Tone Monochrome, and Rich Tone Portrait, and the Large size option for the JPEG (HEIF) Primary – JPEG (HEIF) Secondary recording. Additions also include Pixel Shift Shooting for creating high resolution images, and Auto Capture where you can set up the camera to automatically capture an image based on subject type, motion, and distance. Pre-Release Capture will now buffer for up to 300 seconds when the shutter button is half-pressed, and new shutter sound options have been added.

Left: The new Auto Capture feature and its various options. Right: Selecting the desired subject Direction for Auto Capture.
Video Recording: Subject Detection now includes the Birds option, and the camera has added three new Picture Controls, Auto Capture, Slow-Motion Videos, and a change in color for the Hi-Res Zoom in-focus display. Low ISO sensitivity settings for N-Log video have been added (down to 200 ISO equivalent), as well as changes to the Hi-Res Zoom speed options.
Playback: In the Playback i Menu the behavior of the Select for Upload option has changed. Select for upload will now mark an image for transfer and place it in the upload queue, and Select for Priority Upload will mark an image for immediate upload to a computer or FTP. Playback Speed has been added to the Video Playback i Menu. In the Playback Menu, Series Playback now includes Auto Series Playback Options such as loop, delay, and speed, and the Auto Image Rotation item has been added for playback.
Controls: Support for Power Zoom has been added for PZ lenses, including the ability to customize controls such as the Zoom-in and Zoom-out Buttons or the Fn1 and Fn2 Buttons to operate Power Zoom. The size of the Focus Point Border Width can be changed for the Focus Point Display, so that it can be more easily seen. Exposure Delay Mode has been added to delay shutter release up to 3 seconds after pressing the shutter. A Half-Press to Cancel Zoom (MF) option has been added so that a zoomed-in view of the displays will be cancelled by half-pressing the Shutter Button, and the full view of the frame can be seen before capturing an image when manually focusing. If a button has be assigned to the Recall Shooting Functions (Hold) option, exposure compensation and white balance can now be changed while shooting, and the new setting will be retained by the recall function.

Left: Additional buttons can now be customized, including the Focus Mode Button, Playback Button, and BKT Button. Right: The new Cycle AF-Area Mode option, which can be assigned to the Focus Mode Button or various other buttons.
The Playback Button, BKT Button, WB Button, and Focus Mode Button can now be customized for shooting, and a few new options are available for the customizable controls including Switch Eyes, Cycle AF-Area Mode, Pixel Shift Shooting, Power Zoom, and Exposure Delay Mode. The Cycle AF-Area Mode option can be used to select, for example, three of your most commonly used AF-Area Modes, and then quickly cycle through them with the press of a button. For image playback, several controls can now be customized including the Playback Button, ISO Button, Exposure Compensation Button, BKT Button, WB Button, and Lens Fn and Fn2 Buttons. Some new roles are available for playback controls, including Frame Advance Zoom Position and Playback Zoom Face Selection. If a button has been customized for shooting, video, or playback, you can now reset it back to the default setting by pressing the delete button.
When formatting a CFexpress memory card using the Format Memory Card item of the Setup Menu, the procedure has changed for selecting a Quick Format or Full Format, with the Delete Button now used for a full format. The Non-CPU Lens Data menu item now allows you to add a name to a registered lens, as well as manually enter in a specific focal length and maximum aperture. When entering IPTC information, the character limit for the Category entry is increased to 256 characters, and new options have been added to the Setup Menu > Camera Sounds item, including 5 types of shutter sounds.
Displays: Previously the shooting display could be magnified up to 200%, and that has been increased to 400%. The Finder Display Size (Photo LV) menu item has been changed to Viewfinder Display Size, and applies to photo and video shooting. A Distance Units item has been added to the Setup Menu, to select Meters or Feet for the manual focus distance display.

Left: The new Keep Connection option for the Connect to FTP Server function. Right: The new Overwrite Copyright Info option for the Connect to Other Cameras function.
Networks: Changes have been made to the Connect to FTP Server item of the Network Menu, including the number of available network profiles and an auto reconnect Keep Connection option. Changes have also been made to the Connect to Other Cameras item of the Network Menu, used for synchronized release of multiple Z 8 cameras, including the procedure to set up synchronized release and the ability to group cameras. Up to 16 other Z 8 cameras can be remotely controlled using the Nikon NX Field remote capture software. When connecting to other cameras, the Overwrite Copyright Info option has been added, so that the copyright info from the master camera can be applied to the images from the remote cameras. And when using an MC-N10 remote grip and AirGlu accessories, Bluetooth will no longer be disabled.
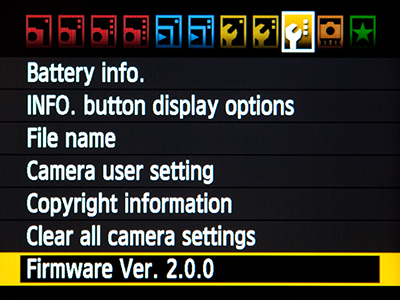
In addition, various issues have been corrected and performance improvements have been made to the Z 8, as listed on the firmware update page. The firmware update page on the Nikon website includes instructions for updating the firmware. You will download the new firmware file, and copy it to the root folder of a memory card that has been formatted in the camera. Insert the memory card with the new firmware into Slot 1, turn on the camera, and make sure the Photo Shooting Menu > Primary Slot Selection menu item is assigned to Slot 1, and that the other memory card slot is empty. Access Setup Menu > Firmware Version, and follow the instructions on the screen.
Learn more about Nikon Z 8 Experience, view a preview, and purchase it on my Full Stop website here:
www.fullstopbooks.com/nikon-z-8-experience
Take control of your camera and the images you create!


