The Canon 70D is hitting the stores today, and I was able to get my first hands-on experience with an actual production model. As with most all of my posts, I will leave the “pixel peeping” to the other sites that do in-depth lab tests of image quality, noise, AF responsiveness, etc., and instead I will present some images and briefly offer some notes on the user experience. While numerous pre-production models of the EOS 70D have been on the loose (for reviewers, etc.) over the past few weeks, it does not appear that there are any major differences with the final, retail version (although the retail version is Firmware 1.1.1, so some menu bugs were likely fixed). Note that larger versions of all these images can be inspected on Flickr here.
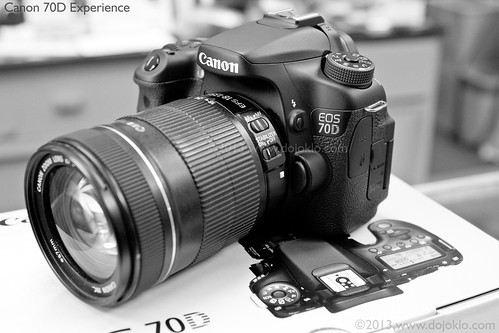
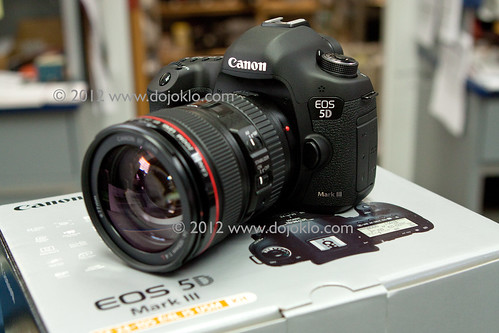
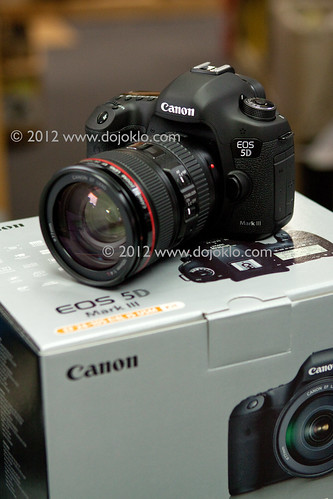
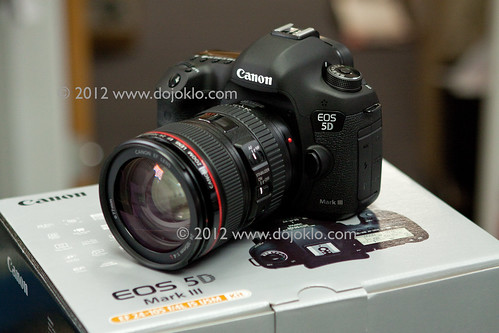
Canon 70D Unboxing, at Newtonville Camera in Newton, Mass. (It was a body only kit, so I threw on the closest 18-135mm lens).
I’ve gotten to know the 70D very well over the past several weeks as I’ve been working on my latest Full Stop camera guide, Canon 70D Experience. This user’s guide goes beyond the manual to explain not only the functions, controls, and menus, but more importantly when and why to use them. Learn more about Canon 70D Experience at my Full Stop website here.
The Canon EOS 70D is the long-awaited upgrade to the EOS 60D. While the xxD line of Canon mid-level dSLR cameras has typically been updated every one-and-a-half years in the past, the 60D has been out for a full three years without an update! This hasn’t been a huge issue, as the 60D was very well-featured and has maintained its popularity, but none-the-less there are some welcomed improvements. I have recently written all about the camera’s specs, features, and new additions in this previous post Introducing the Canon EOS 70D, which you may wish to read first to learn about the camera’s specs, features, and improvements.
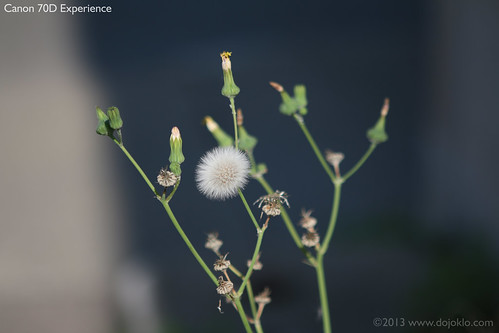
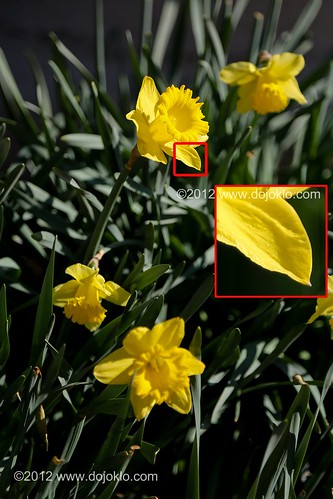
Canon 70D sample image – JPEG straight from camera. See enlarged detail below.
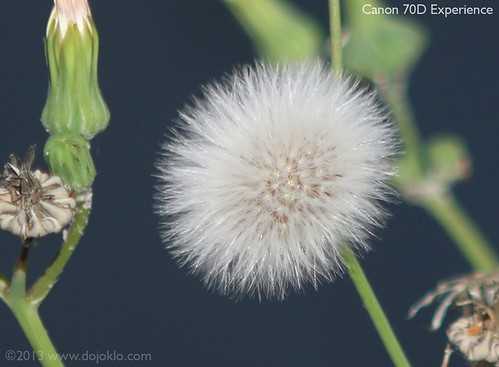
Canon 70D sample image – JPEG straight from camera. Enlarged detail of above image. If added sharpening is applied, the details will become even crisper.

Canon 70D sample image – Processed version of above JPEG image.
In actual use, the 70D feels and functions great, as expected, both with a typical 18-135mm kit lens and with a bigger, heavier 24-70mm f/2.8L lens. The surface materials feel great, the camera is solid, the menus are well organized, and the controls are responsive and (for the most part) well-placed. There are a few changes in the controls from the 60D, including the relocation of a few buttons, the addition of the much more convenient Live View/ Movie Switch and button, and of course the addition of the top AF Area Selection Button to allow you to quickly change the AF Area Selection Mode (Single Point AF, Zone AF, 19-Point Automatic Selection). However, it is the addition of the Touch Screen that has the potential to make a significant difference in how you access the menus and settings. While you can still quickly change various settings using the buttons and dials on the camera body, you may soon find it is often easier to hit the [Q] Button or [Q] icon and access the settings and navigate the menus via the Quick Control Screen, using touch. The screen not only uses the multi-touch gestures that you are familiar with from your smart-phone or tablet, it is also an extremely responsive touch screen (which can even be set for more responsiveness if desired). The small menu tabs and options are easy to accurately tap, numerous settings can be changed directly from the shooting Quick Control Screen with taps and swipes, Live View and Movie autofocusing can be accomplished by touching the desired area of the screen (even during filming!), image playback can be done with multi-touch gestures just as on an iPhone, and image processing can be accomplished by making selections directly on the Playback Quick Control Screen.
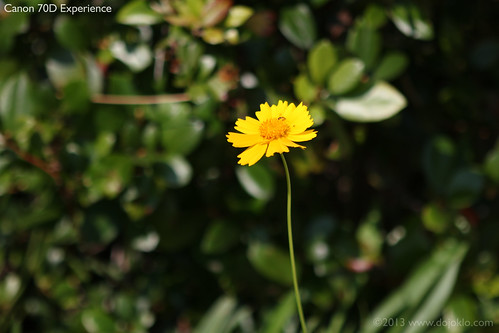
Canon 70D sample image – JPEG straight from camera. See enlarged detail below.
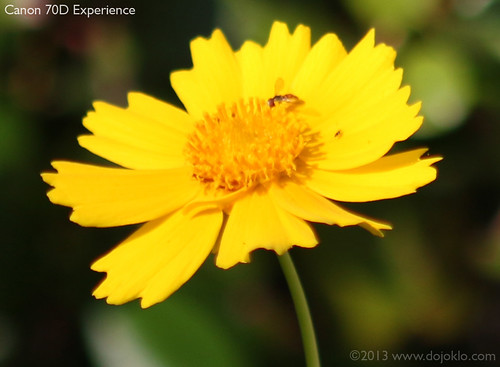
Canon 70D sample image – JPEG straight from camera. Enlarged detail of above image. If added sharpening is applied, the details will become even crisper.
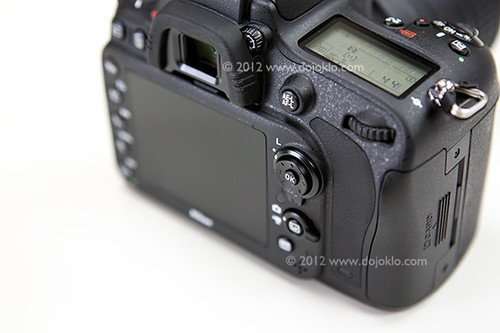
My one predicted gripe that I mentioned in the previous 70D post is indeed true – I’m a much bigger fan of the thumb-joystick Multi-Controller on the 7D and 5DIII rather than the Multi-Controller touch pad of the 60D and 70D. I find the joystick better positioned for selecting an AF Point while working through the viewfinder. Not to mention that you have to be careful when navigating menus with the 70D Multi-Controller thumb-pad and surrounding Quick Control Dial, as your finger may easily touch one or the other during an operation, and you may suddenly jump away from the menu item or settings option you were attempting to set.
What the manual fails to mention is that there are often several controls options that can be used to navigate menus, Quick Control Screens, and settings options. While the manual may tell you, for example, to press left and right on the Multi-Controller, often you can also use the top Main Dial and / or rear Quick Control Dial to accomplish the same thing. While there are some settings that require the use of one of these specific controls, you will find that with many other settings they can be used interchangeably. So be sure to try out the various options and use the controls that work most intuitively for you. There is also a nearly-hidden feature of the 70D that you may not pick up in the manual. There is a new Level icon in the Viewfinder that you can enable and then use with the camera in either the horizontal (landscape) or vertical (portrait) orientation, which you will likely come across. But what you may not realize is that you can use the Custom Controls to set the Depth of Field Button to enable a Level also – however, this level makes use of the autofocus points in the viewfinder rather than the Level icon. (There is also the Level on the rear LCD Monitor that can be viewed by pressing the INFO Button a couple times.)
Regarding some of the other customizations you can make to the camera’s controls, I’ve written a post called Tips and Tricks for the 70D about taking advantage of the camera’s Custom Controls. These will allow you to better set up the camera for your needs and shooting style.
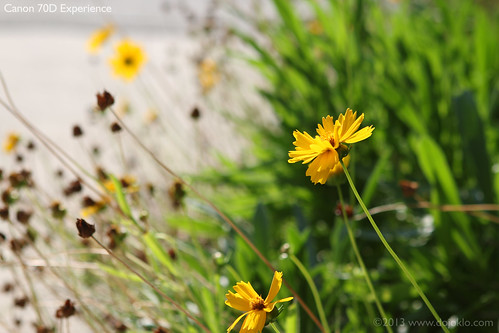
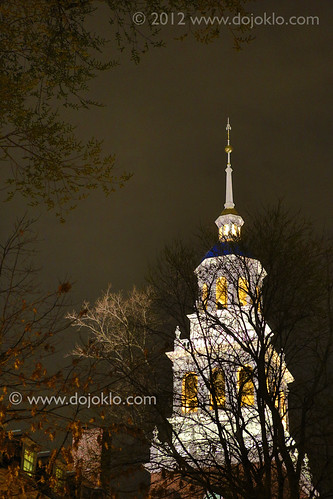
Canon 70D sample image – JPEG straight from camera.
As with most current dSLR cameras, the 70D has a few menu settings “quirks” or conflicts that may drive you crazy if you are not aware why they are occurring. Most notably, some settings will be inaccessible or greyed-out in the menus, and you will not be able to select them if a “conflicting” setting is enabled. These are actually not arbitrary quirks, but are typically due to logical conflicts or camera limitations. Examples include certain functions like Multi-Shot Noise Reduction, Handheld Night Scene, HDR Backlight Control, or Live View Creative Filters, which are not accessible when the camera is set to capture files in the RAW or RAW+JPEG image format. You must then set the Image Quality to one of the JPEG-only settings. The use of Auto Exposure Bracketing, White Balance Bracketing, or Long Exposure Noise Reduction will also conflict with other settings including Multi-Shot Noise Reduction or the use of the Creative Filters. Similarly, the use of Auto Exposure Bracketing, White Balance Bracketing, Multi-Shot Noise Reduction, or Multiple Exposure will conflict with using the built-in HDR function. And Multiple Exposure cannot be set if White Balance Bracketing, Multi-Shot Noise Reduction, or HDR is set, or if Wi-Fi is enabled. In addition, Wi-Fi must be disabled in order to shoot a video.
While it is obviously not realistic for you to remember all of these conflicts, you can begin to see a pattern in the examples above. If you do encounter an inaccessible menu item, remember to check your Image Quality setting (RAW vs. JPEG), that Wi-Fi is disabled, and then make sure any of the above mentioned functions are disabled, as many of the same ones simply conflict with each other.
The 70D now offers a 3x-10x movie Digital Zoom feature, which will allow you to digitally extend the range of your lens and thus get closer to the action. However, when you enable this the framing will automatically jump to the 3X zoom. You can then use the controls or touch screen to zoom-in further. But it is important to remember that Movie Servo AF (automatic continuous focus) will not function when Digital Zoom is in use. And the camera will not make use of the advanced Dual Pixel CMOS AF phase-detection autofocusing during Digital Zoom, but rather will use the slower contrast-detection autofocusing. Also, for movie shooting, if you activate manual control of the audio level, you can adjust the level directly from the rear LCD screen via the [Q] Button or icon and then by pressing or selecting the Audio Level icon. This is an improvement over other recent models which required you to go into the menu to manually adjust the audio level.

Canon 70D Unboxing, at Newtonville Camera in Newton, Mass.
To learn more about using your Canon 70D and how to take full advantage of all its features, functions and controls – including back-button focusing, plus taking control of the autofocus system, making use of the various metering modes, and understanding the elements of exposure – have a look at my e-book guide called Canon 70D Experience. As with all my dSLR guides, Canon 70D Experience will help you to learn not only how but more importantly when and why to use the features, functions, and controls of the 70D. Learn more about the guide on my Full Stop website here.
PURCHASING: And if you are planning to purchase your Canon 70D online, please consider using my affiliate links and help support this blog – thanks!
Order your Canon EOS 70D from Amazon or B and H Photo:
Amazon:
Canon 70D – Body or with choice of kit lenses – $1,199 to $1,549
B and H Photo:
Canon 70D – Body only – $1,199