There are countless books available about digital photography, ranging from general over-encompassing guides to specific texts on lighting or composition. Many of them discuss basically the same topics, and after reading and absorbing a few, you begin to pick up only a few new tips or pieces of knowledge here and there.
But I’ve put together a list of what I think are the best books for digital photography out there. These are the ones I believe you should read first, the ones that will give you the maximum bang for the buck, and which are consistently full of solid, useful information. They are divided into categories of Camera Guides for specific cameras, Digital Photography Guides for general information and composition, Lighting and Flash, and Post-Production for Photoshop and Lightroom.
You can click on each title to take you directly to Amazon.com. If you purchase through these links Amazon will reward me with a small referral fee, so I appreciate you helping to support my photography work and my effort of creating all these links!
Sections:
Digital Photography Guides
Camera Guides
Lighting and Flash
Post Production
Digital Photography Guides
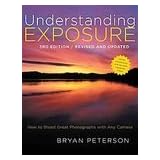
Understanding Exposure by Bryan Peterson
I recommend this book throughout my blog for anyone who is new to digital SLR photography or ready to take their camera off Auto or Program and needs to learn and understand the relationship between aperture, shutter speed, and ISO. It is the go-to book to help you learn these essential settings, take control of your dSLR and image making process, and start to use aperture priority and shutter priority modes.
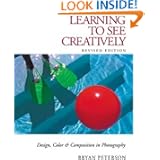
Learning to See Creatively by Bryan Peterson
By the same author as above. Once you have control of your camera after reading Understanding Exposure, you will quickly discover you need to learn how to make better compositions in order to take better photos. This book can help start you on this process. His best piece of advice is to think about and use different, more dynamic points of view in your photos. Taking a photo of a flower? What would the image look like from the flower’s point of view? Simple but brilliant.
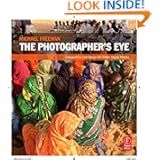
The Photographer’s Eye: Composition and Design for Better Digital Photos by Michael Freeman
As I just said above, once you get control of your camera and its settings after reading some of the other camera and photo guides, you may wonder why your photos aren’t improving as quickly as you had hoped. That is when you need to turn to this book. It is a unique book for teaching photographic composition – which is an often difficult concept to teach beyond the basics. Most books explain concepts such as the rule of thirds or depth of field, but this book takes it to a whole new level. And he walks the reader through the example images describing the process and decisions he makes as he works a scene (which must be what inspired my Deconstructing the Shot series of posts!) It is a challenging book, and it takes some experience with working at photography and applying the basic composition techniques and experiencing specific problems and frustrations before one can get the most out of this book. So if it is too heavy for you at first reading, come back to it after you have worked at it some more. This is perhaps my favorite photography book, and I wish there were more out there that were as helpful as this one. I re-read it every few months to set these concepts into my brain.
The Photographer’s Mind: How to See and Shoot Better Digital Photos by Michael Freeman
Every time I read Freeman’s The Photographer’s Eye, I lament, usually aloud, “why doesn’t he have more books like this?” Then I did some more research and discovered an older book of his, Achieving Photographic Style, from 1984. It blew me away – it is just as good as Photographer’s Eye, but a bit dated in many ways, as it discusses the photographic trends of that period and it is pre-digital. Again, I lamented, “why can’t he update this book for today?” Well, my pleas appear to have been answered. His next book The Photographer’s Mind has just come out. I haven’t seen it yet, but I immediately ordered my copy from Amazon.
Pro Photographer’s D-SLR Handbook by Michael Freeman
This is a comprehensive handbook for everything about digital photography from equipment, lighting and accessories, to technical explanations of settings and concepts, to post-production including Photoshop and printing. It covers a lot of topics, but gives good, solid information. Like its title says, it is a handbook that is extremely handy to have as a reference guide for everything related to digital SLR photography. Essential for any serious intermediate dSLR photographer, whether you desire to be a pro or just have the knowledge of one.
The Digital Photography Book (Volume 1) by Scott Kelby
Scott Kelby’s series of books are good for the beginning or intermediate dSLR photographer. Some claim that everything they know about digital photography they learned from Scott Kelby. Other reviewers on Amazon don’t think he’s so great. Never-the-less, he doesn’t get caught up in technical explanations, but rather just tells you what settings and equipment to use and how to do something. The page-by-page brief topics each give starting points for anyone confused about the variety of subjects they may be trying to absorb from all the other books. For example, every Photoshop book explains Unsharpen Mask, but then leaves you totally clueless as to where to even start with the three sliders. Kelby simply tells you what numbers to use. (Actually that may have been from one of his Photoshop books, but that is the type of info he provides.) Keep in mind, all of his advice is intended as starting points. His word is not gospel, it is to help you begin and then you can experiment and learn from your own experience after that. These are not books to teach you the basics of digital photography, but are rather a collection of various, almost random tips about a wide variety of photo topics. Keep in mind, his instructions are not the only way to do something, and sometimes they are actually very round-about ways of doing things that can be done much more simply. His humor is annoying to some and the equipment he uses may be totally unnecessary for how you work, so take what you read with a grain of salt. As a studio photographer, Kelby is especially knowledgeable about flash and lighting. There are three books in this series, which can also be bought as a set, as seen below.
The Digital Photography Book, Volume 2 by Scott Kelby
See above description of The Digital Photography Book.
The Digital Photography Book, Volume 3 by Scott Kelby
See above description of The Digital Photography Book.
Scott Kelby’s Digital Photography Boxed Set, Volumes 1, 2, and 3 by Scott Kelby
See above description of The Digital Photography Book.
National Geographic Photography Field Guide: Secrets to Making Great Pictures, Second Edition by Peter Burian and Bob Caputo
This is a great general guide to photography, with insightful and useful nuggets of information from some of the best Nat Geo pros, like Sam Abell and Michael Nichols. However, it is a bit dated, from the films days at the verge of digital. But I feel it is still worth reading because the essentials of image making remain unchanged. The updated version is below, but I have not yet seen it, and it may be all new with different content. Maybe see if your library has this one.
National Geographic Ultimate Field Guide to Photography: Revised and Expanded by National Geographic
I haven’t yet seen this updated version, but based on the previous edition as well as the Travel Photography version, it is bound to be good.
National Geographic Ultimate Field Guide to Travel Photography by Scott Stuckey
This is an excellent introduction to most everything you need to know to work as a travel photographer with helpful information for both beginner and more advanced photographers that isn’t found in most other travel photography books. And it contains valuable contributions from several professional travel photographers like Bob Krist and Catherine Karnow. However, its title is annoying because it is not in any way a field guide. It is not designed as a quick and easy reference to any of the topics it covers, as the term field guide would imply, but rather it is a book to read before your travels, and a book to read to learn the realities of working as a travel photographer. It is also a book about how to take travel photos in the visual and editorial style of Nat Geo Traveler magazine. I highly recommend this book for someone who is truly interested in becoming a commercial travel photographer, as it competently and thoroughly covers numerous aspects of this vocation – technical, logistical, and perhaps most importantly, learning how to tell a story through photographs. Or if you don’t wish to become a pro travel photographer but want to learn to capture better travel images, it will be most helpful for someone whose travel style truly accommodates the time and effort if takes to make great travel images.
Within the Frame: The Journey of Photographic Vision by David DuChemin
VisionMongers: Making a Life and Living in Photography by David DuChemin
Rick Sammon’s Complete Guide to Digital Photography 2.0: Taking, Making, Editing, Storing, Printing, and Sharing Better Digital Images by Rick Sammon
Rick Sammon’s Travel and Nature Photography by Rick Sammon
Camera Guides
First, of course, I have to mention my e-book user’s guides! So far I have written one for each of these cameras:
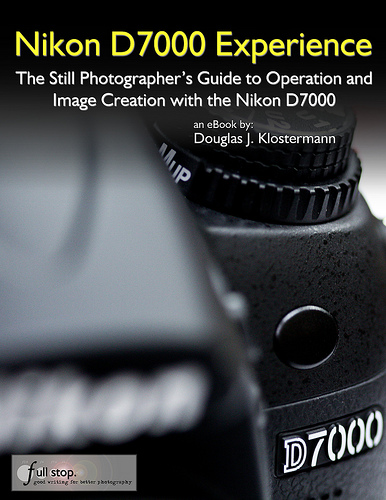
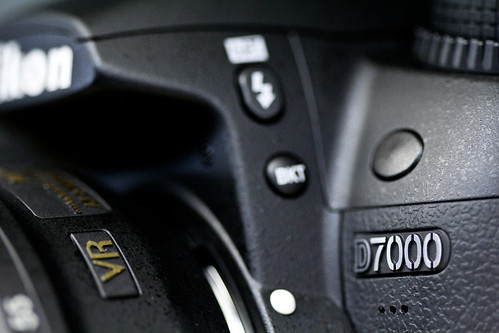
Nikon D7000 Experience
Nikon D5100 Experience
Canon T3i Experience
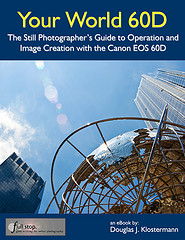
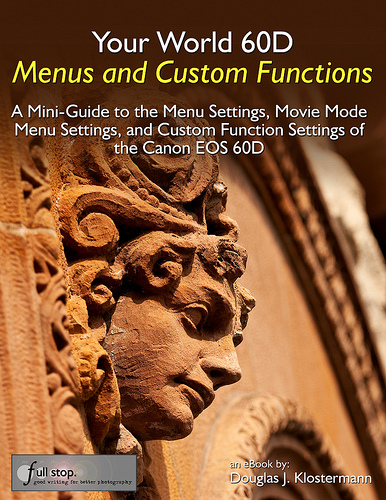
Your World 60D
Canon 7D Experience
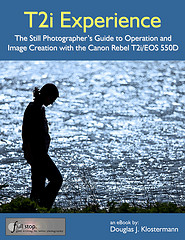
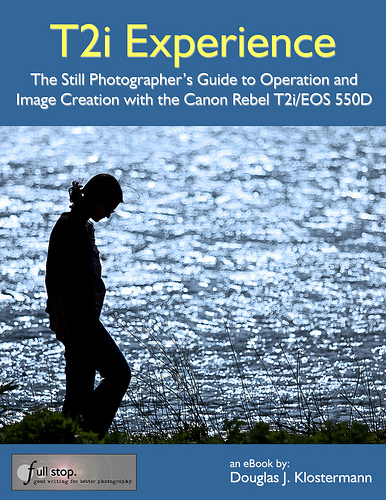
Canon T2i Experience

Plus a book for all other dSLR owners, Ten Steps to Better dSLR Photography

You can learn more about them at my Full Stop ebook bookstore, (www.dojoklo.com/Full_Stop/). These guides go beyond the manuals to help you learn to use your powerful camera to its full potential so that you can improve your photography and consistently take better photos. The guides cover the settings, functions and controls of these advanced dSLR cameras, plus explain when and why to use them to improve your photography and your images. Aimed towards intermediate photographers, they also clearly explain basic dSLR camera functions and exposure concepts for those new to digital SLR photography. Take control of your camera and the images you create!
These guides are available in PDF versions as well as Kindle, Nook, and iBooks/ iTunes versions.
Canon 7D: From Snapshots to Great Shots by Nicole S. Young
This series of camera user’s guides explains everything in a way that is clear and easy to understand and put to use. They don’t get bogged down in confusing technical explanations, but instead present everything in a straightforward, user-friendly manner. The books explain not only how to use the camera, but how to use it to take better photos. Recommended for someone relatively new to digital SLR photography who wants to quickly learn to use their camera and improve their photography.
Nikon D5100: From Snapshots to Great Shots by Rob Sylvan
see above description for Canon 7D: From Snapshots to Great Shots.
There are also From Snapshots to Great Shots guides for every other camera out there including the Canon 60D, Canon G12, Nikon D7000, etc.
David Busch’s Canon EOS 7D Guide to Digital SLR Photography by David Busch
David Busch’s camera guides are all excellent books, and will help you really get to know and understand all the features and functions of you camera. They are clear and straightforward enough for the beginner, yet are also in-depth and technical for the intermediate and advanced dSLR user. Recommended as a more comprehensive and easy to understand manual than the one that comes with your camera.

David Busch’s Nikon D7000 Guide to Digital SLR Photography by David Busch
This is an all-encompassing bible for the D7000. If you wish to learn every single feature, setting, menu item, option, etc., this is the place to look. If you wish to learn all the essential features, how to use them in the real world, and be up and running with your D7000 quickly, start first with Nikon D7000 Experience before delving into this tome.
David Busch of course has guides for every other dSLR camera out there including the Canon 60D, Canon T3i / 600D, Canon 5D Mk II, and the Nikon D5100.
See all the David Busch Digital SLR Camera Guides.
Lighting and Flash
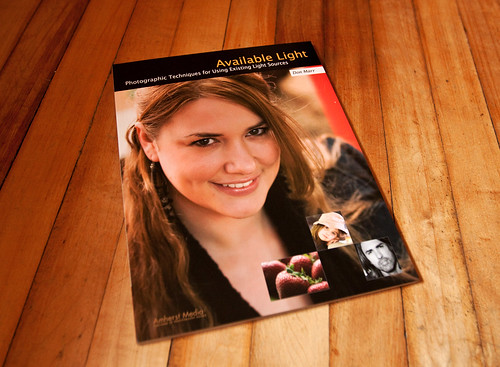
Available Light: Photographic Techniques for Using Existing Light Sources by Don Marr
This is a simple, straightforward book that immediately changed the way I see light and the way I photograph using natural light. You often hear the idea of “taking your photography to the next level.” This book doesn’t itself make that claim, yet it is one of the few photography books that can actually deliver that result. It is short, easy to read and to understand, and immediately applicable to your work. Many books discuss light – it’s direction, intensity, quality, softness, color – and you think, “Yeah! I’m keenly aware of different light and how it falls on my subject.” But did that knowledge suddenly help you to take better photos? Many books never fully take it the next step and really explain how to seek out, modify, and use this light. You may or may not be able to then figure it all out on your own. I thought I had until I read this book.
It actually guides you in exactly the right direction and truly helps to open your eyes to the intensity, direction, and quality of natural light, and then teaches you to work with it and modify it to create the softness/ hardness, direction, color, and intensity you want, whether you are working on an overcast day, at high noon, inside, outdoors, or any other type of situation. It makes one suddenly aware of the existence and potential use of natural reflectors everywhere which will help give you the lighting you want: a wall, the ground, a pole. And it explains the important concept and effective practice of subtractive lighting, used to even-out or create the desired lighting instead of turning to flash to artificially add to existing lighting. The concepts in this book are so obvious and intuitive I didn’t even write down a single note while reading it the first time. Then the next week I used what I learned and took one of the nicest, best lit spontaneous portraits I have ever taken.
While many are happily joining the Strobist camp, this book offers a refreshing and viable alternative to that never-ending accumulation of lighting equipment and techniques, and should be read by off-camera-flash fans as well so they can learn to look for beautiful natural lighting alternatives that will give them as-good or even better images, before setting up their lighting equipment and knocking down the natural light in order to rebuild it artificially. However the author is not against the (limited) use of flash, and certainly not against reflectors, and discusses their use in different situations. I highly recommend this book to photographers of every level. It is a wonderful book for beginners or intermediate photographers so that they can be aware of, understand, and use these concepts from the start, and it is just as helpful for advanced photographers who may intuitively practice some of the techniques, but will certainly become aware of even greater potential and opportunities in the use of available light.
As you can see, I’m pretty enthusiastic about this book. I even contacted the publisher and asked them for a copy that I could use as a free give-away here on my blog, and indeed they are sending me one! (The free give-away is now completed.)
On-Camera Flash Techniques for Digital Wedding and Portrait Photography by Neil van Niekerk
The Complete Guide to Light & Lighting in Digital Photography by Michael Freeman
Post-Production
The Adobe Photoshop CS5 Book for Digital Photographers by Scott Kelby
Scott Kelby is the founder and head of NAPP, the Photoshop users’ organization, so I don’t have any qualifications with the Photoshop and Lightroom recommendations as I did with his photo books above.
The Adobe Photoshop Lightroom 3 Book for Digital Photographers by Scott Kelby
Adobe Photoshop CS4 How-Tos: 100 Essential Techniques by Chris Orwig
Adobe Photoshop Lightroom 2 How-Tos: 100 Essential Techniques by Chris Orwig
And of course in able to make use of the Photoshop and Lightroom books, you are going to need the software!
Adobe Photoshop and/ or Adobe Lightroom 3 are the latest versions. Photoshop CS4 has the amazing and revolutionary content aware fill, which takes cloning and spot healing to a whole new dimension. And Lightroom has quickly become the tool of choice for photographers to work on their images.
(Descriptions of some of the above books still to come!)